I wanted a cleaning stand for my rifle but when I looked online I couldn't justify the £30+ in buying one. I did a bit of research over a few days & decided to design & make my own.
I wanted it to look decent enough but it was never going to be a show piece so I could feel confident of using my limited skills in knocking something up.
First port of call was B&Q as I new they had off cuts of different woods & sold them off cheap. I arrived & headed to the builders section where I found some MDF, not ideal but suited my needs I thought. Asked the guy how much he'd mark it down for & he said £1! At that price I'd make it work I thought. Even better, when I got to the till I presented my trade card & it took £1 off, so I got the wood for free.
I'd looked for dimension & even did two threads on another forum asking for help with no joy... So I came across a few pictures & settled in my head on a similar design for the ends as the Hoppes cleaning stand (two ends connected by rods). I enlarged a picture on my iPad & estimated sizes by creating my own rule & calculating the different distances based on comparison to the overall height of theirs.
What I came up with, I drew on the MDF, I've kept the templates though for future reference should I make any more.
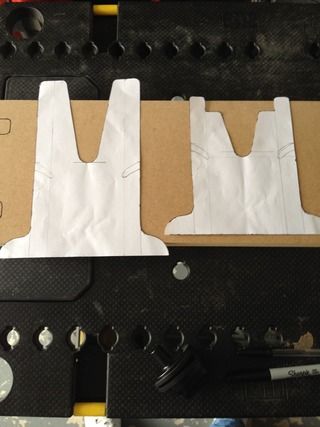
Marking out the MDF, I jiggled it about to make it fit & changed the design slightly. Next I used a drill to cut out the rounded edges to make it easier to shape using the jigsaw when I was ready.
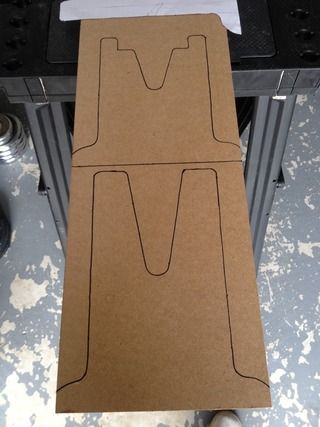
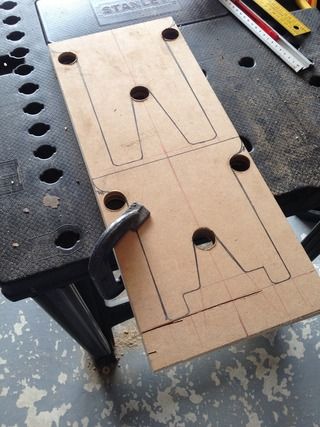
I had loads of MDF left so thought I'd change my design & add a base, this would give me somewhere to lay tools, nuts/bolts etc when working on the rifle. I also decided to make it adjustable, so marked out some holes & drilled them out ready.
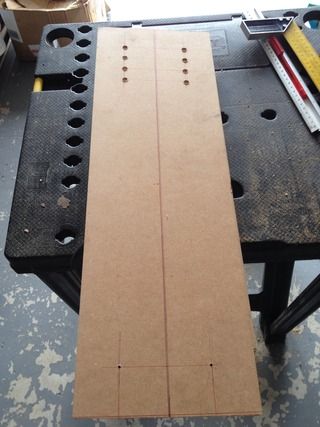
Rather than leave it as it was I wanted to change the colour so I painted the ends & base a light grey as a base coat, smoothed the edges with sandpaper & screwed in place the barrel end:

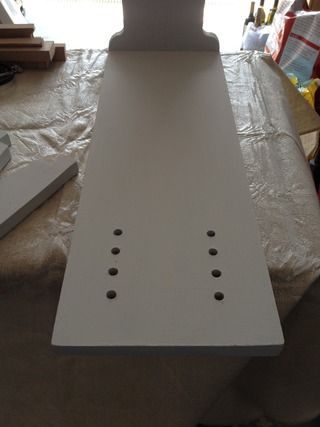
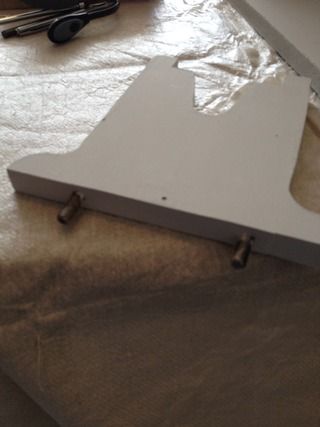
Next I took the but end & fixed (glued) M8 threaded bar in to the end piece to allow me to move it into each position as & when needed or to work on different sized rifles. These bars would go through the drilled holes in the base where I'd tighten them up using a wing nut.
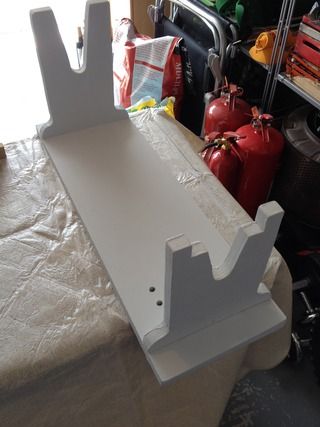
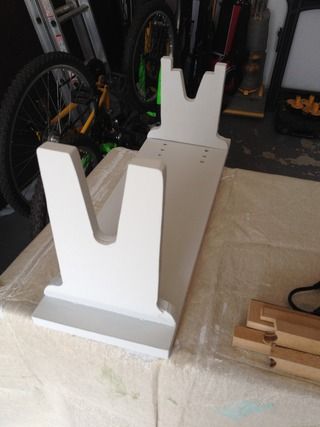
So, I wasn't happy with the plain grey & in all honesty it was far too light in colour so I popped back to B&Q today & purchased a spray can in stone grey a textured non slip paint. The reason I chose this was to add a visual effect but also I thought it may stop bits rolling off like they may of if painted in a regular smooth finish. At £9 a can though (& it's all gone!) it's too expensive so if doing it again I'd use regular black paint I think.
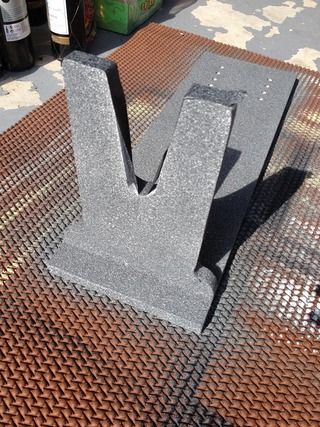
The but end piece... Notice the little square at the back? I cocked up but more about that later haha.
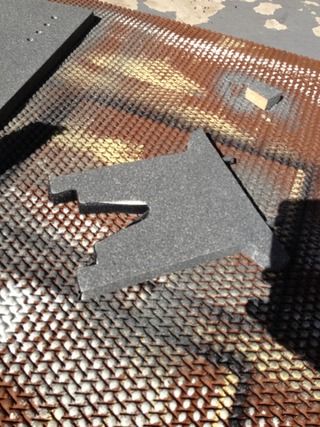
Next I needed to pad the ends so as not to scratch the rifle & to stop any damage when cleaning from rubbing against the wood. Now I tried a few options like foam but decided on plain old Leather. On my way to B&Q I pass a fabric shop, so stopped & asked how much to buy a scrap of leather, the guy said he had grey (perfect I thought) & that I could have it for free! Happy days I thought.
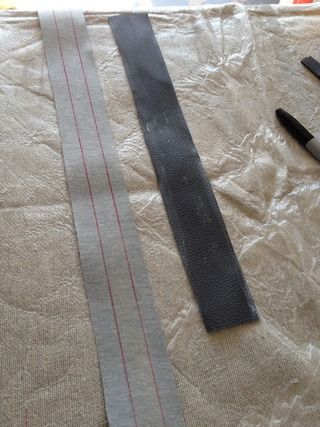
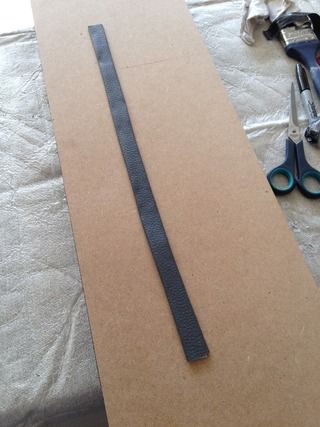
I cut it in to lengths & marked the width of the MDF (18mm) down the centre. Next I added super glue & folded the end he's in to form a three layer padded strip. This would sit along the edges of the end pieces.
As I now had a base, I needed to raise it up so it could sit on the table. This wasn't going to be possible with the adjustable end & threaded bar poking through. I went with rubber door stops here but soon found out screwing them wasn't going to work as it wanted to split the rubber when I tightened them up, so out came the super glue again.
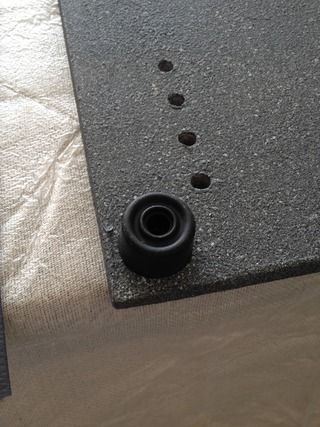
So there we go it's now finished..... Or so I thought! Turns out I'd measured the threaded bar wrong & it didn't quite pop through the MDF to the other side. Remember the square from earlier? Well that was added to the adjustable end to support it & stop it moving when in position, not my original plan but works well enough & when loaded with the rifle the weight secures it further.
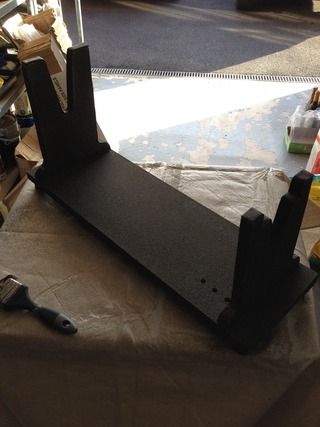
With my rifle on to give you an idea of how it looks. Have already decided to add a section on the top portion of the base to hold bottles, cleaning cloths & any bits removed from the rifle during cleaning.
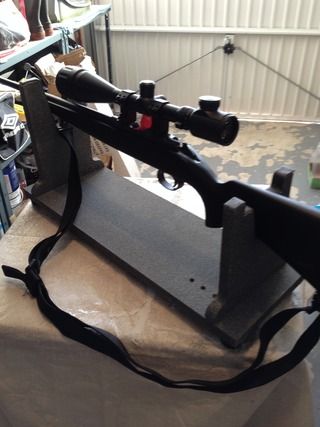
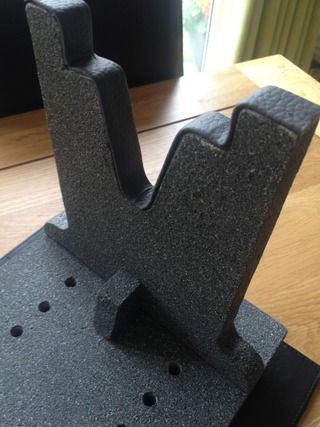
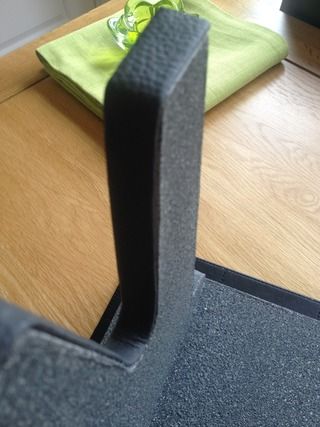
Some close ups of the two ends, the first shows the added block to stabilise the but end when adjusted to the right length.
The second gives a close up of the leather 'padding' I added & also a decent representation of the actual colour & textured finish of the completed stand.
Cheers, Steve
